

The other day when I made these pork chops, my husband said: can I be honest with you? Sure you can be honest (said no wife ever). However, I gave him a non-verbal nod and he proceeded to say: these pork chops are really good (emphasized)—but I crave some good ole bone in pan fried pork chops like my Mom used to make. My first thought, before I reached my zen center (milliseconds), was you are telling me this now after I took the time and energy to prepare you these gorgeous, succulent chops (emphasized in my mind). But then from my zen center the thought emerged: your cooking reminded him of his Mother’s and brought him back to a place in time. A place in time and memory you can only experience with your Mom’s home cooking. I know this to be true because with my Mom’s passing, her home cooking is something I miss terribly and the memories of it always makes me smile. So what the heck does this prologue have to do with the perfect pork chop Kim? I’m glad you asked. Everything that is cooked with Love can always be labeled—Perfect, even if the dish was not, because in memory sometimes hindsight isn’t so 20/20 and I wouldn’t want it any other way! ♥
My Preparing Instructions for the Perfect Pork Chop
Preheat oven to 425 degrees.
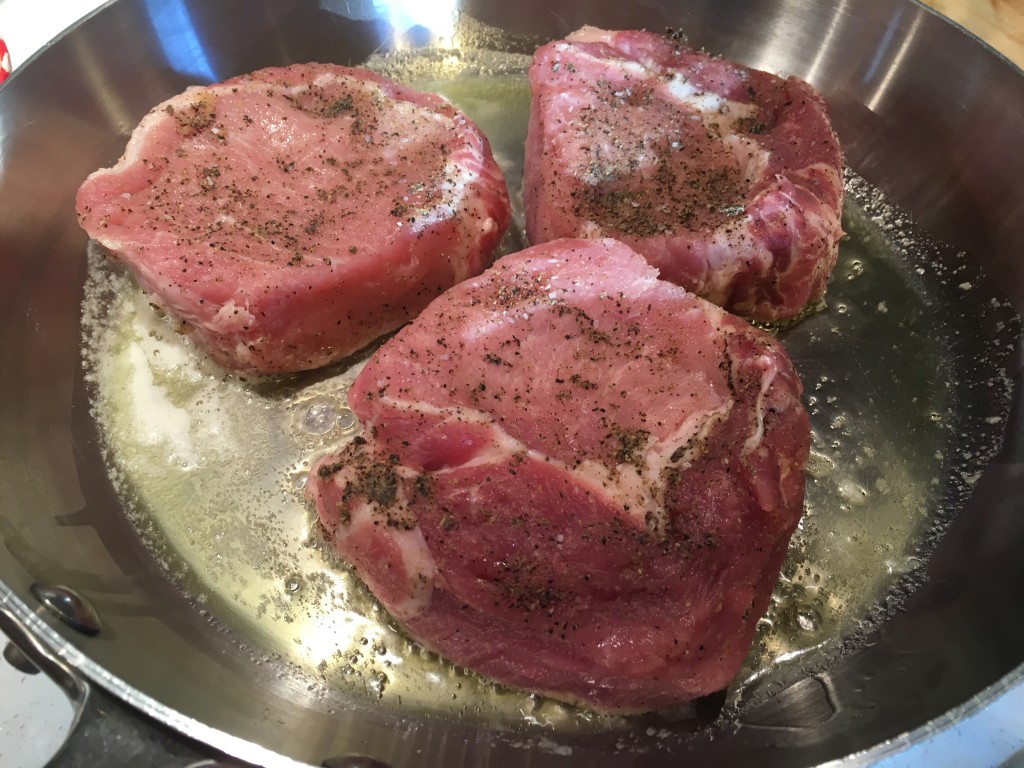
- Start with a Boneless Top Loin Pork Chop about 1.5 inches thick. Sprinkle each chop on both sides with Salt, Pepper and Garlic Powder or any spices of your choosing. Take a fork and press the rub mixture (salt, pepper and garlic powder) into the meat on both sides. If you choose you can use your hands and press the rub into the meat, or use a combination of both methods. The end result is just to get the rub onto the meat evenly on all sides.
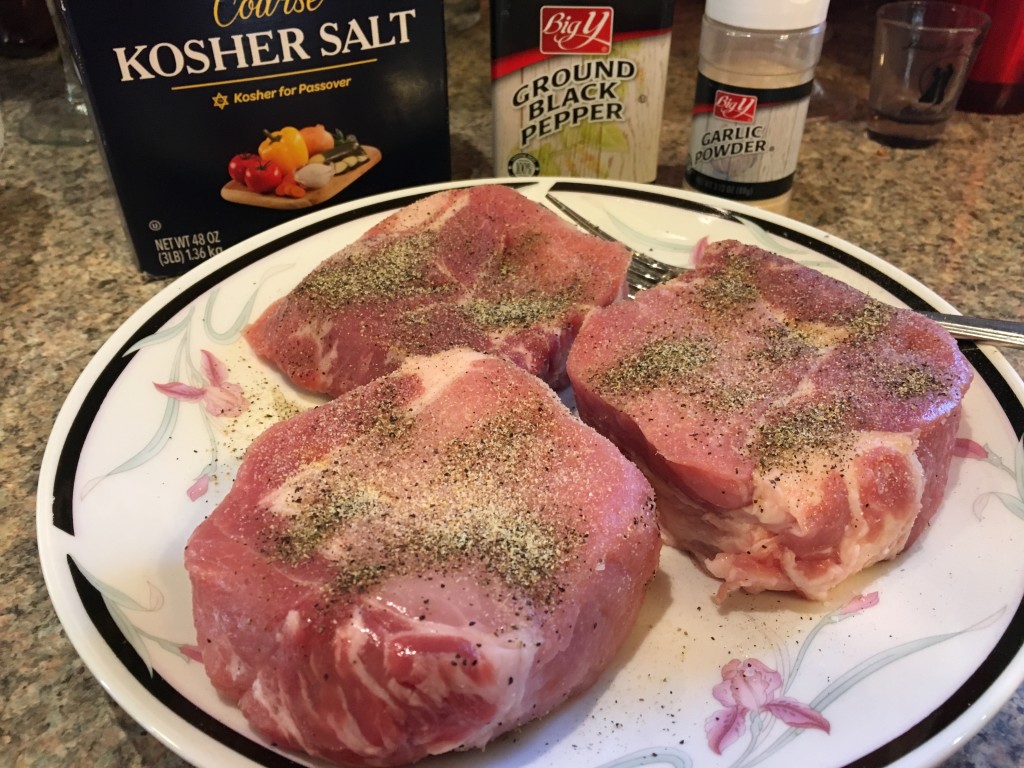
Boneless Top Loin Pork Chops 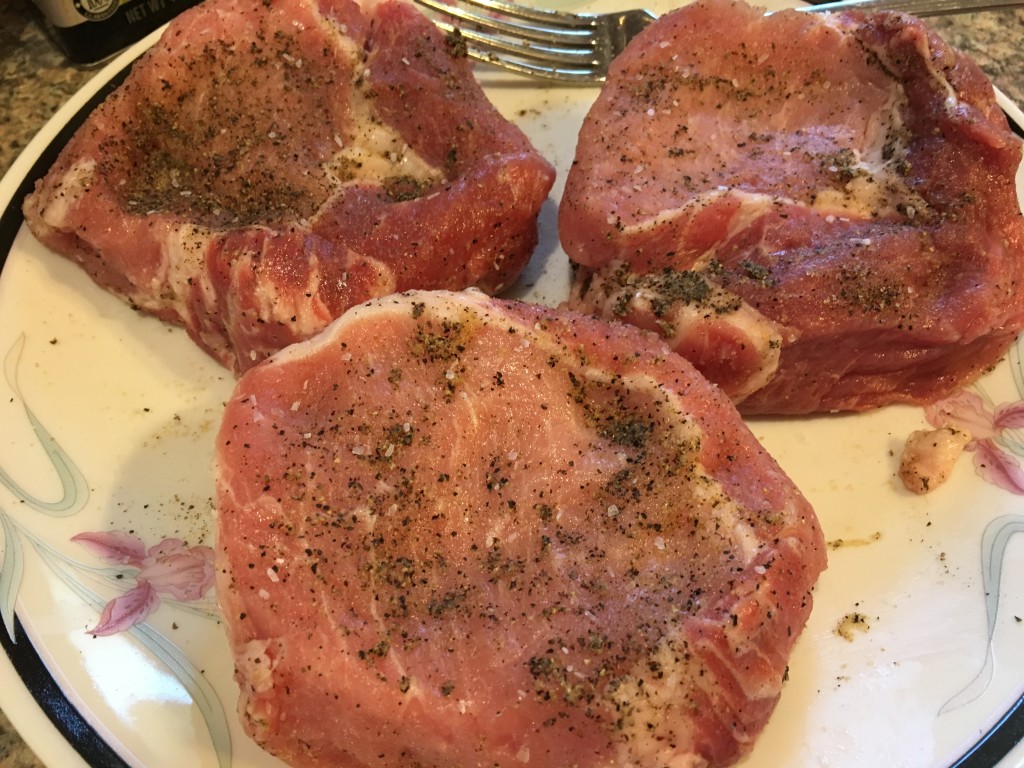
Boneless Top Loin Pork Chops, Salt-Peppered & Garlic Powder Prepared - In an oven safe pan, heat up some extra virgin olive oil on medium heat. When the oil starts to move to the sides of the pan as you can see in picture 2, add some whipped butter and let it melt.
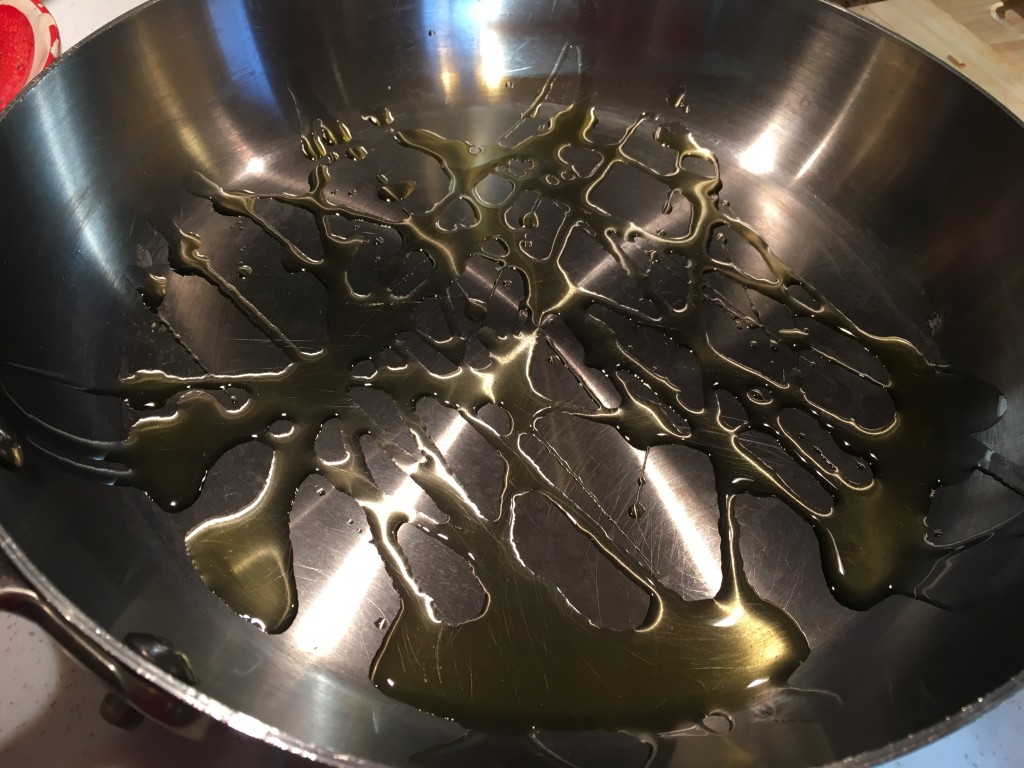
Things are heating up! 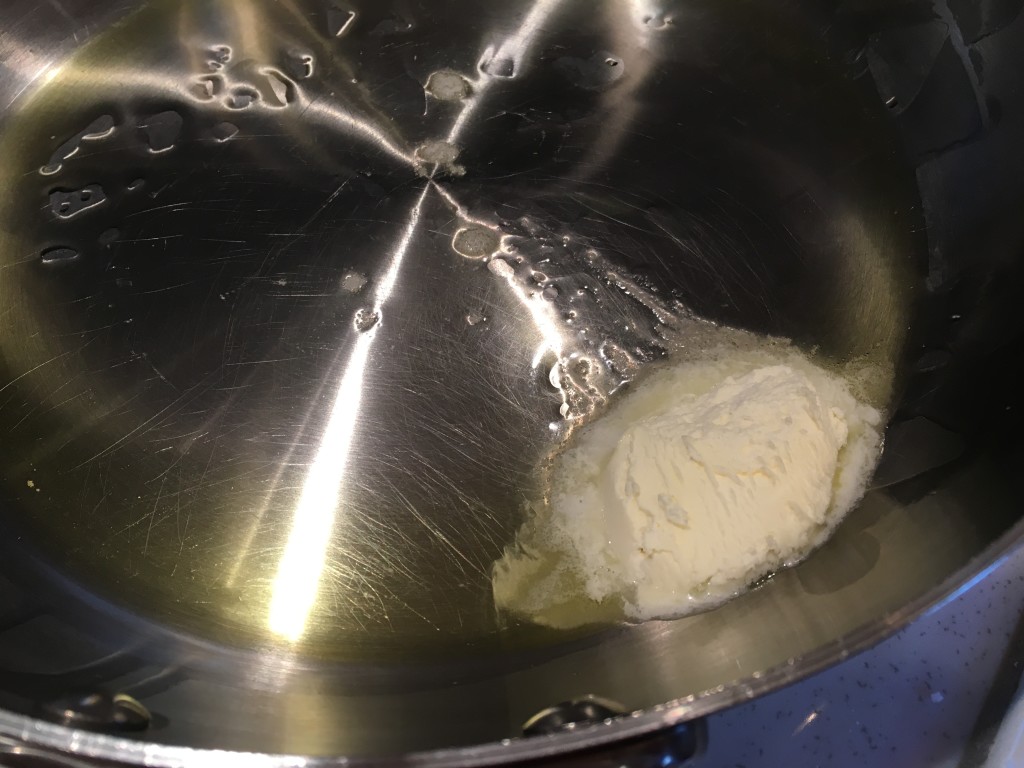
Everything is Better with Whipped Butter! - When the butter has melted your pan should be nice and hot. Test it first by putting a few drops of water in the pan, if it starts to sizzle and hiss you are good to start searing. It is important to make sure your oil and butter is hot enough to get that nice sear to seal those beautiful, delicious juices inside. Try to avoid crowding the pan so the oil stays nice and hot. Cook in batches if you have to or use two pans to accommodate more chops at once. Sear for 5 minutes on each side, adding more olive oil as needed. Baste with the juices as well during the searing process to keep the tops moist. When they are done searing on both sides place them into the oven for 10-12 minutes. Remove from the oven and put a piece of aluminum foil over the chops to tent and let them “rest” for an additional 5 minutes. While tented they will continue to cook internally and while resting the juices will redistribute inside.
It’s Getting Hot in Here! 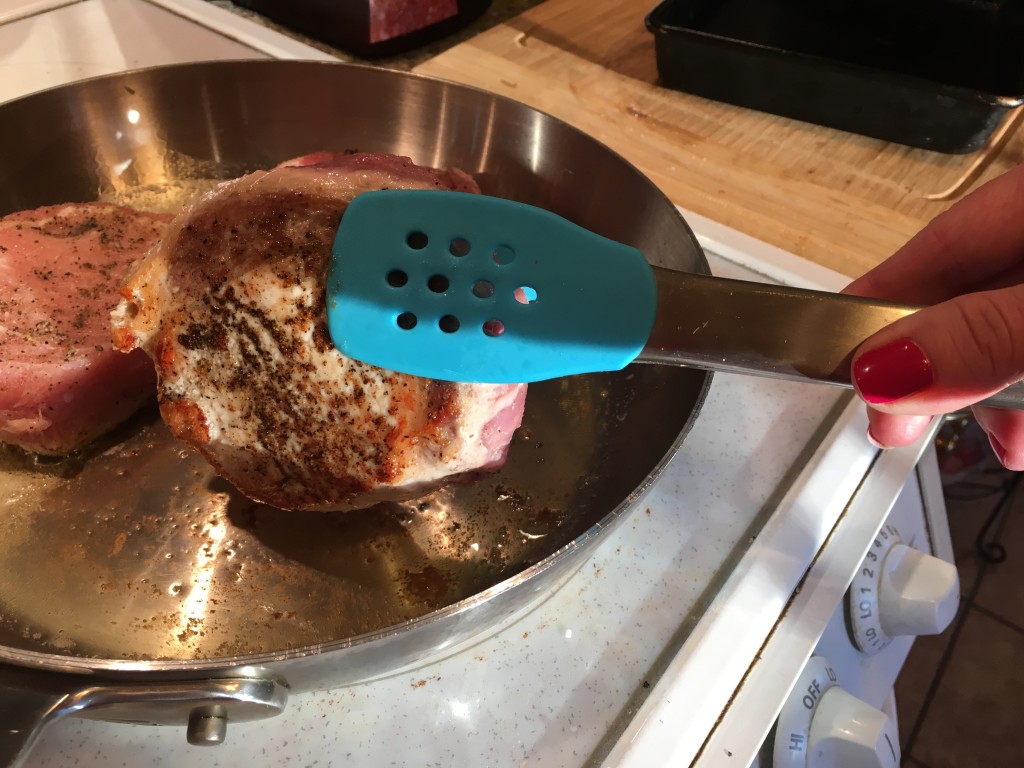
Going in for the Flip! 
We’ve all Flipped! 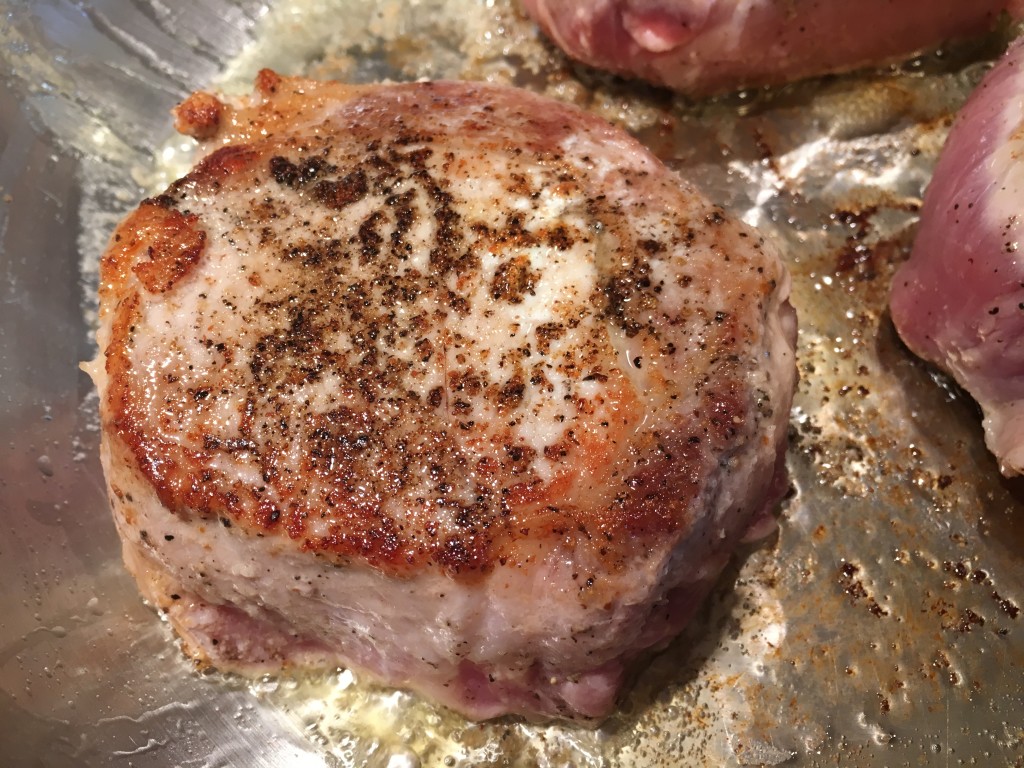
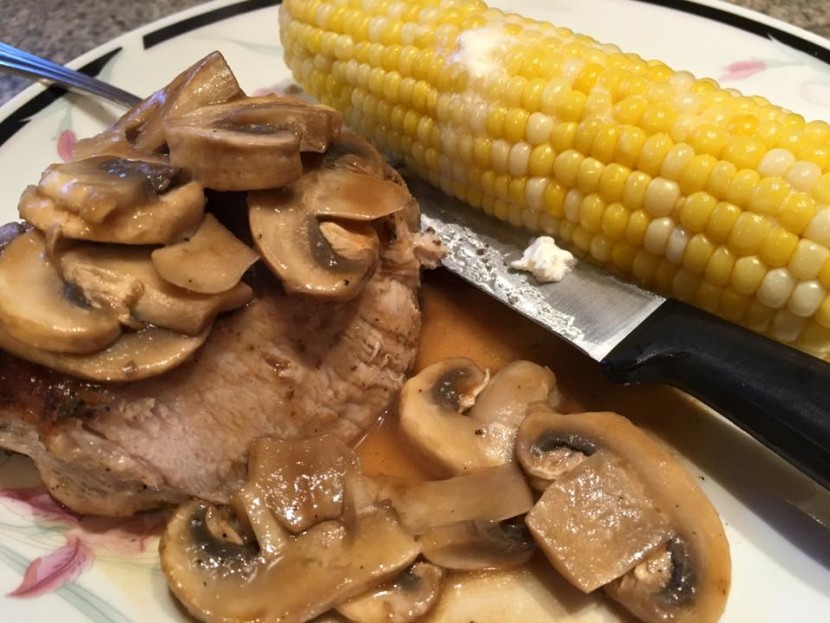
My Closeup! - At this point you now have the most succulent, juicy pork chop to stylize as you wish. Here I styled mine with a Mushroom Demi-Glace ←(click on for link to glace recipe) and some fresh corn on the cob. This picture is making me hungry! Enjoy! 😀

The Perfect Pork Chop
Preparation Notes: For thinner chops, 1/2-3/4 inch adjust sear and baking times as follows: Sear for 3-4 min per side and bake for 9-10 minutes, respectively. Skip the tenting, but allow the meat to rest for 5 minutes. As all stove and oven temps vary, adjust your cooking times so that the pork chop is cooked through but not overdone. This takes a little practice to get it just right but it is well worth the efforts! 🙂
Kimberly
Latest posts by Kimberly (see all)
- No Spend January - January 1, 2025
- Hot Artichoke Dip with Crostini - January 1, 2025
- Reduce Holiday Debt While Simultaneously Saving Money (Even A Little Bit Counts) - January 1, 2025