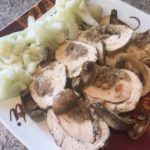
I suppose I could have called these by their more “sophisticated” name—Chicken Roulade, but for this busy weeknight meal, I just decided to keep it real and call a rollup a rollup. This easy, elegant meal is a winner for both weeknights, when we have less time to cook and for a weekend night when perhaps we “might” have more time. You can prep the rollups in the morning or even the night before and when ready to have a delicious home cooked meal just pull them out of the fridge and in 20 minutes time you are plated and eating. And once again you have kept the “Fast Food” Monster at bay! 😀
Preheat oven to 400 degrees.
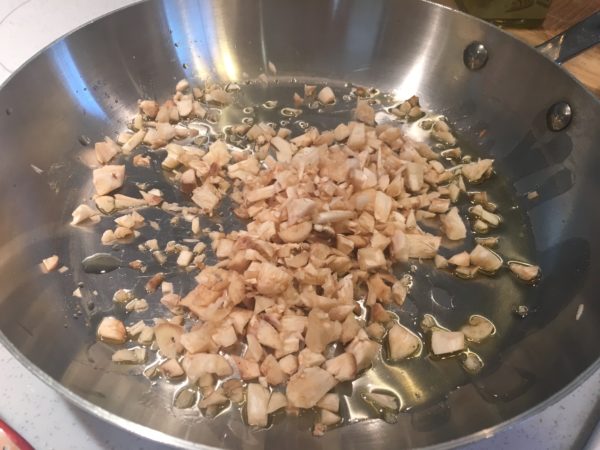
- In a saucepan over medium heat, add enough extra virgin olive oil to cover the bottom of the pan, about 2 tablespoons. Add the chopped mushroom stems (chop them pretty small) and saute for about 5 minutes until they are tender.
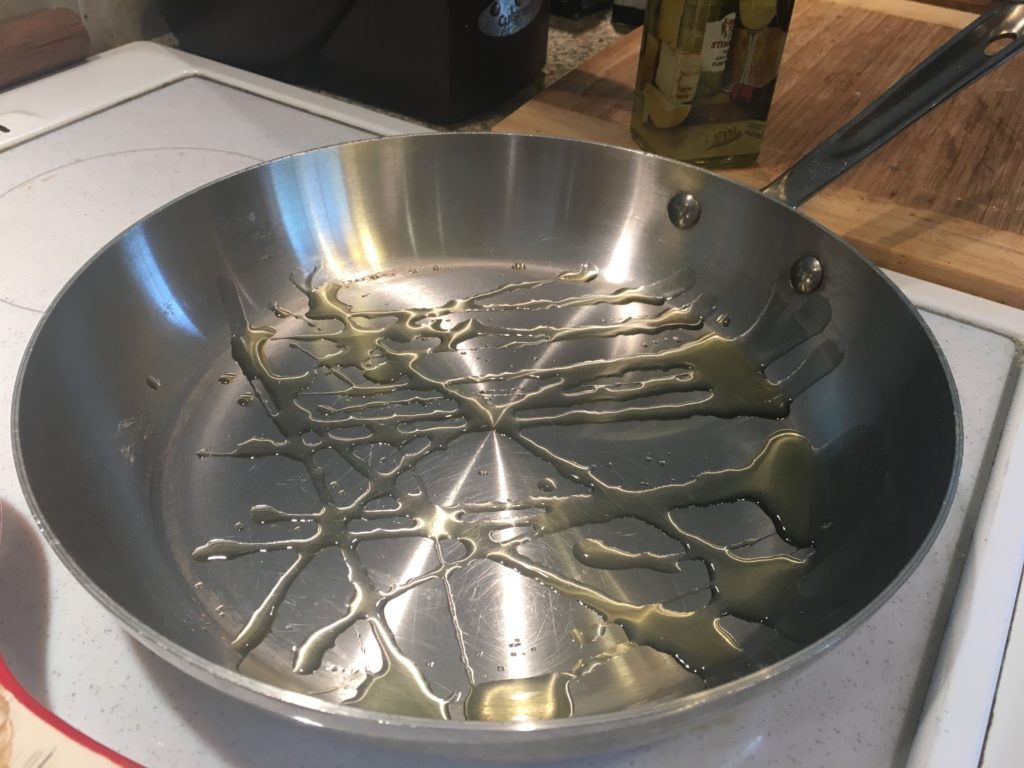
Putting on the Heat! 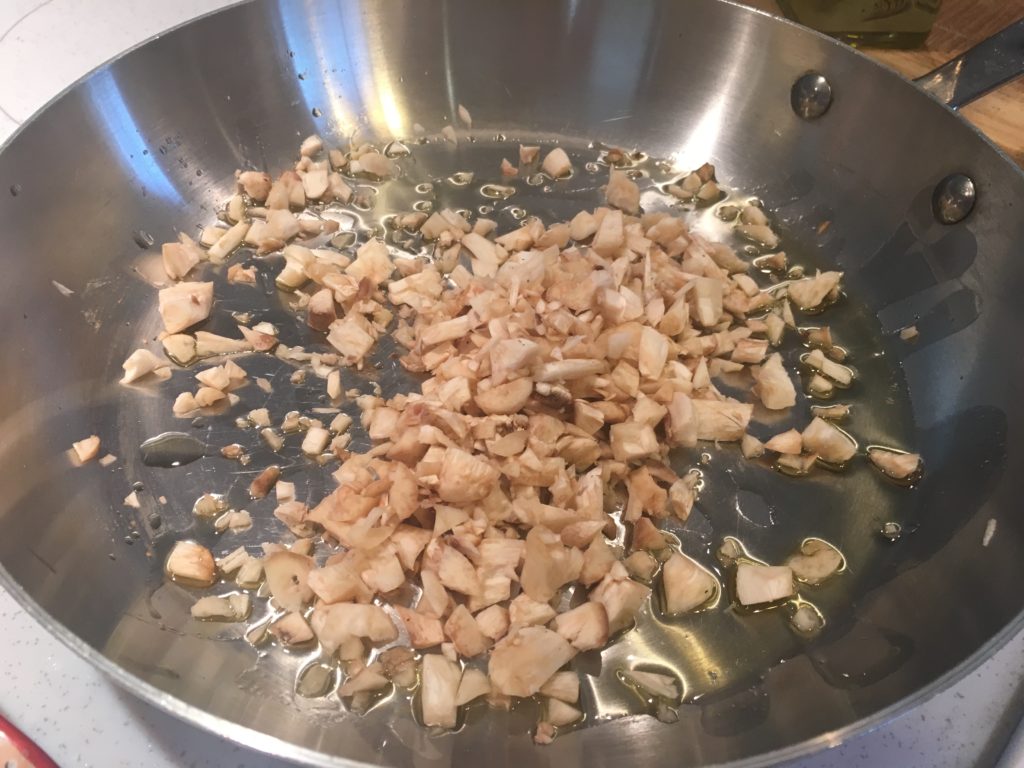
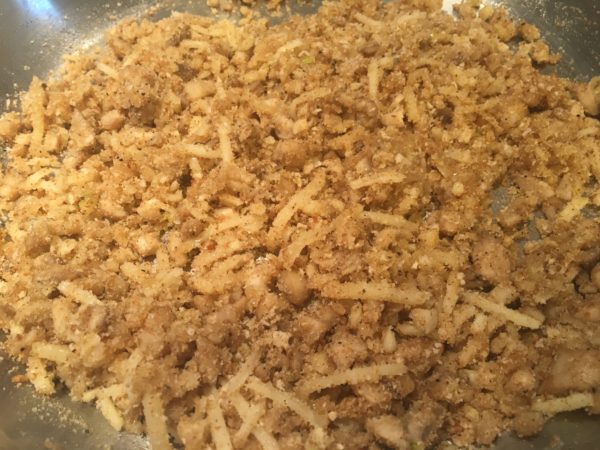
Mushroom Stems - Add the chopped garlic, then the breadcrumbs. Mix together. Turn off the heat and add the cheese and mix through. The residual heat will melt the cheese. Season with salt and pepper to taste. Remove pan from the heat and set aside.
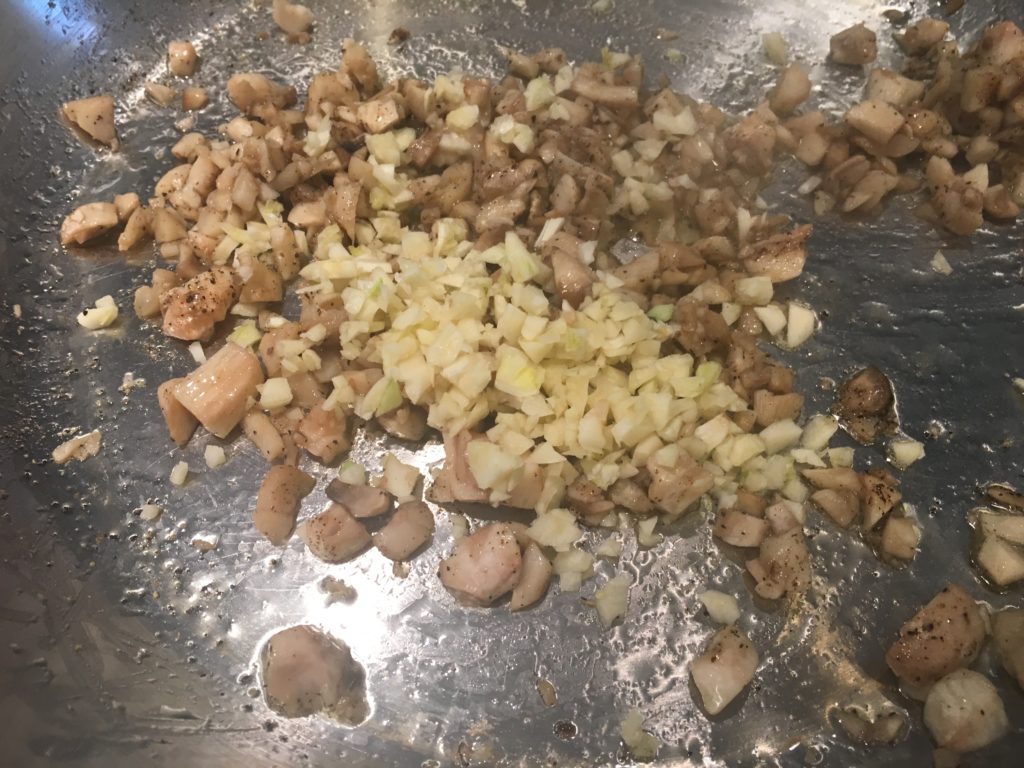
Garlic going in! 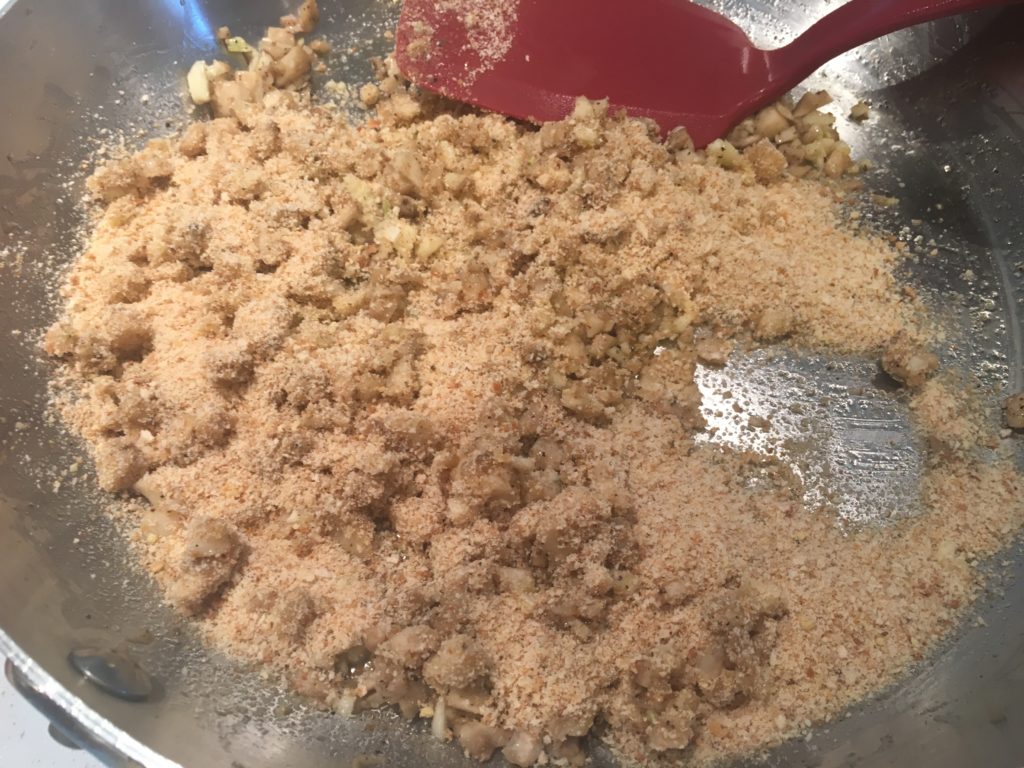
Breadcrumbs turn! 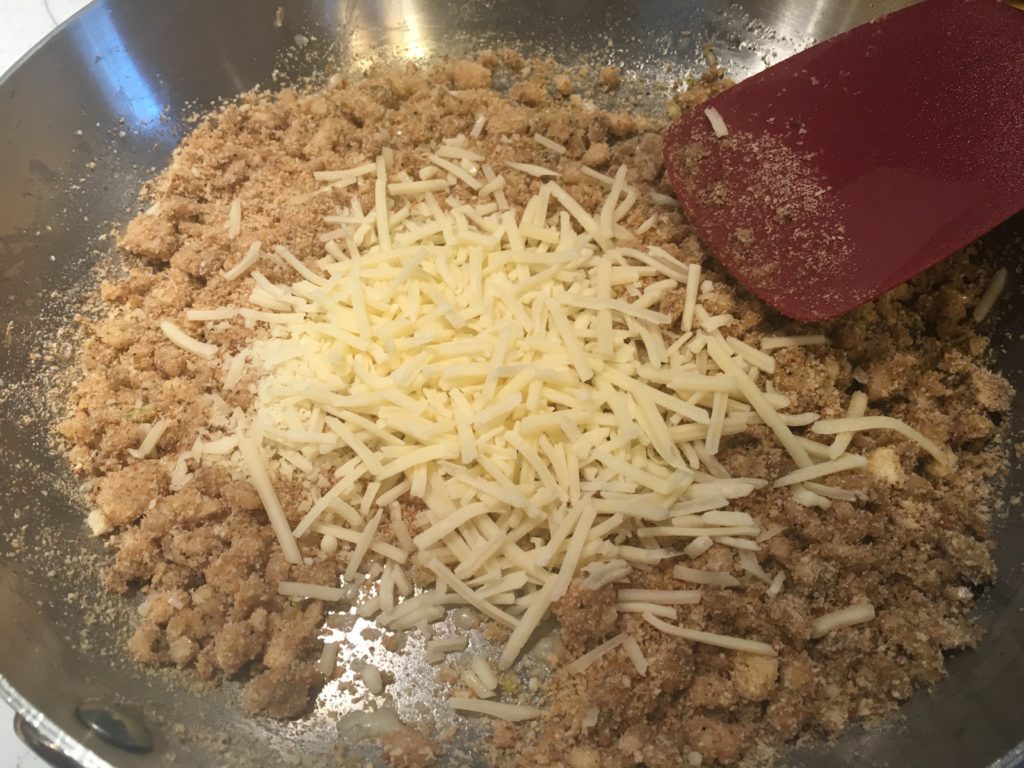
Now add the cheese. 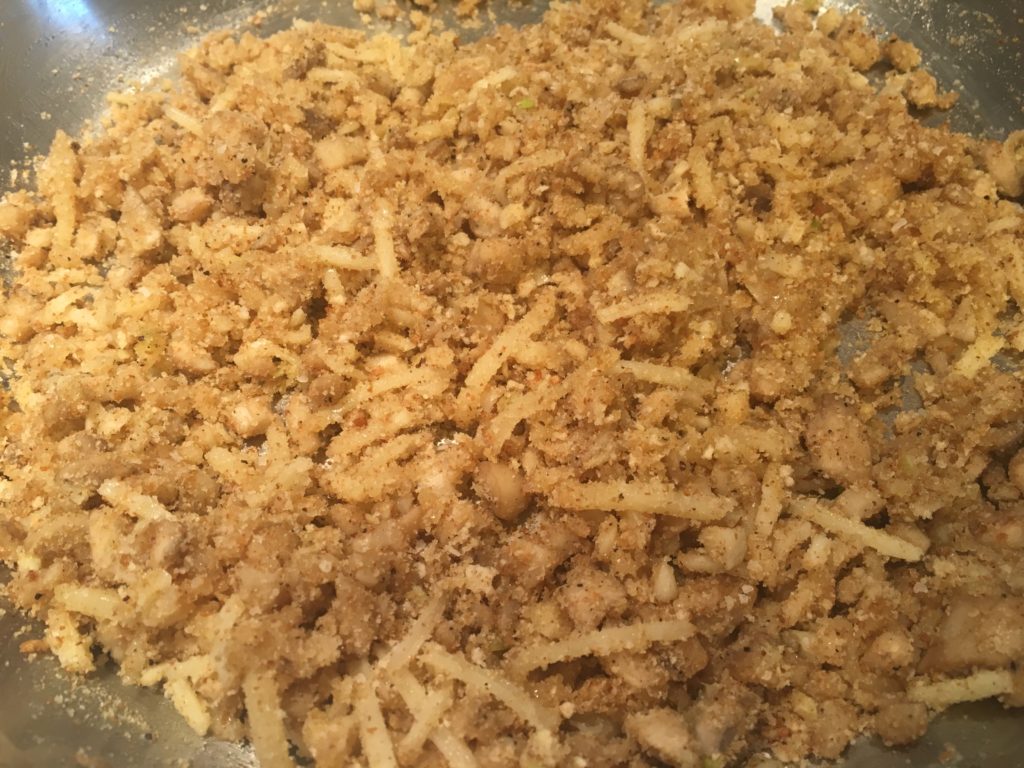
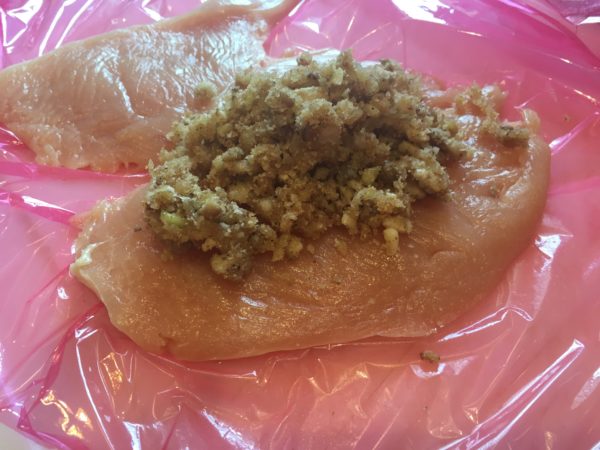
Viola! You have Stuffing! - Butterfly your chicken breasts (cut them in half, without cutting all the way through). Cover your surface with plastic wrap and place a piece of plastic wrap on top of your butterflied chicken. Take the spiked side of your mallet and pound and simultaneously gently pull the chicken out to the side to flatten and create a bigger surface. Flip them skin side down (yes I know they are skinless, pretend there is skin) and put your stuffing on top a little away from the edge. Now roll the chicken, starting from the edge and tucking the stuffing in as you go. The rollups will be a little uneven but we will take care of that in step 4.
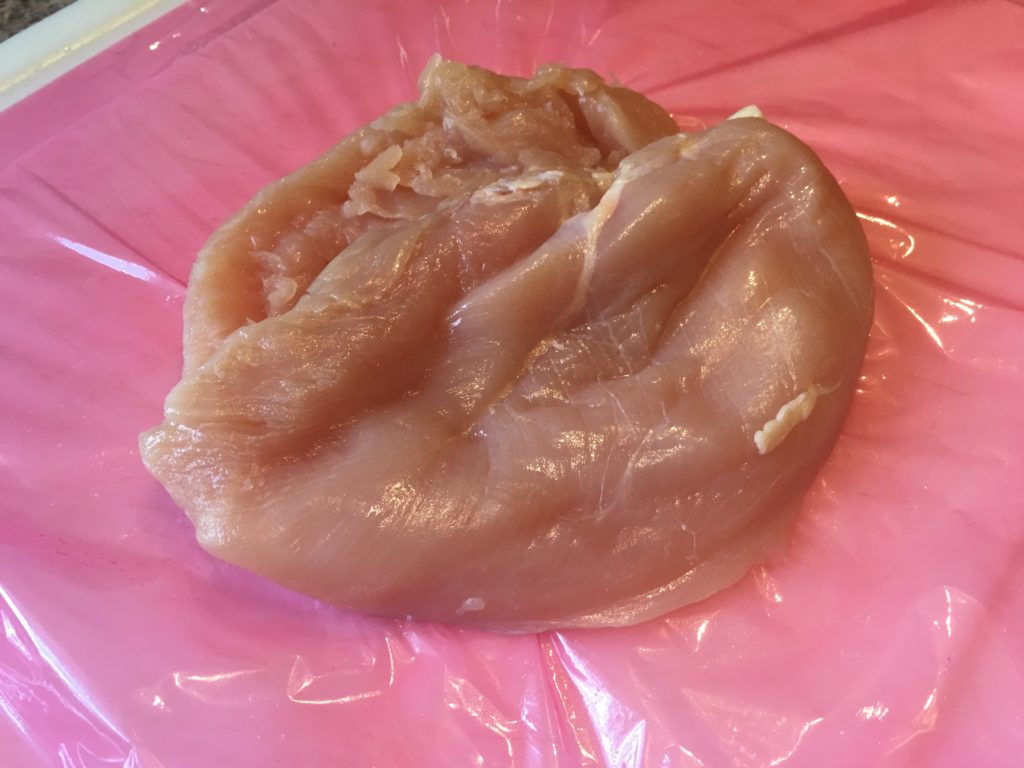
Butterfly, but of course! 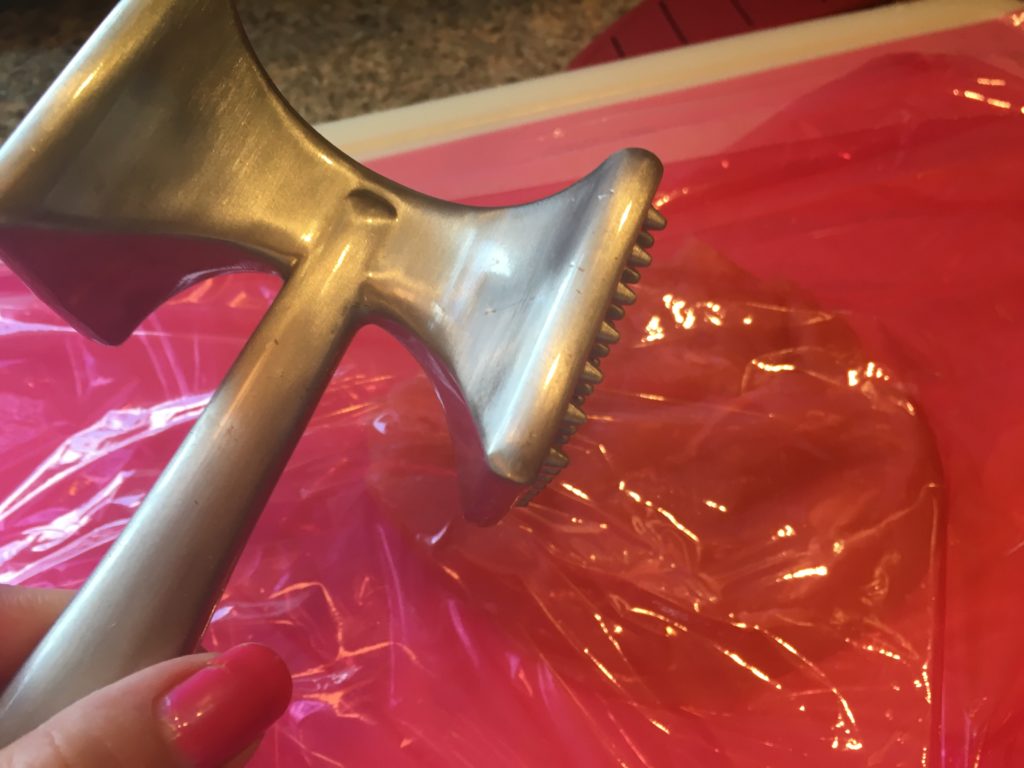
OH No! 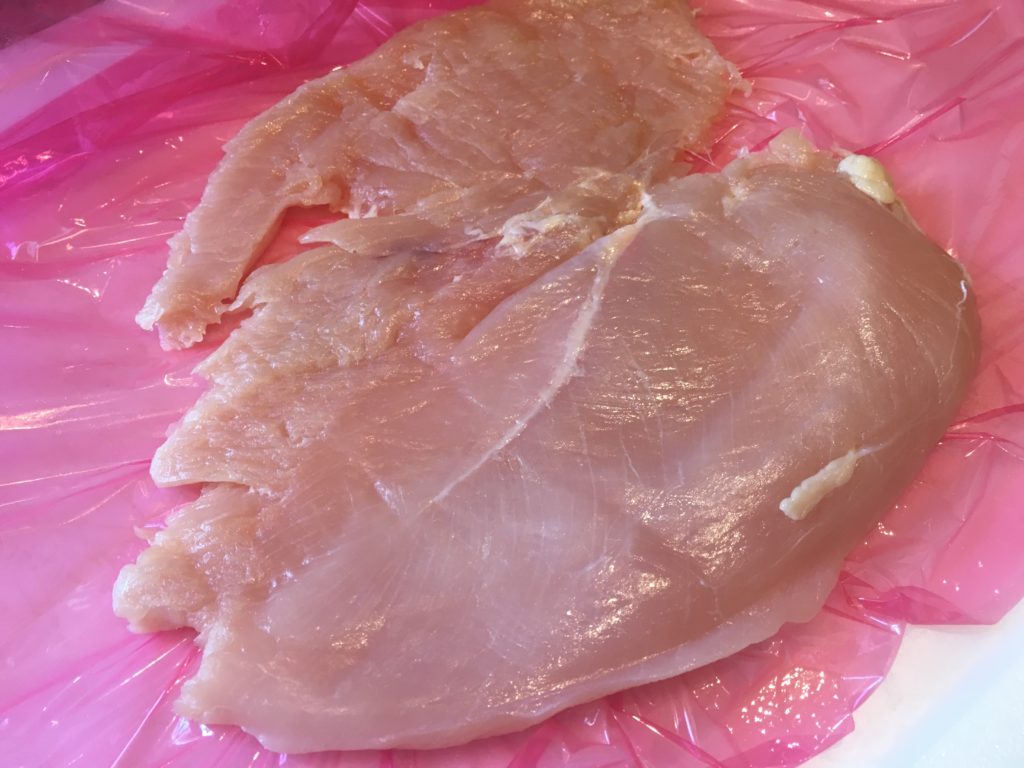
I feel flat! 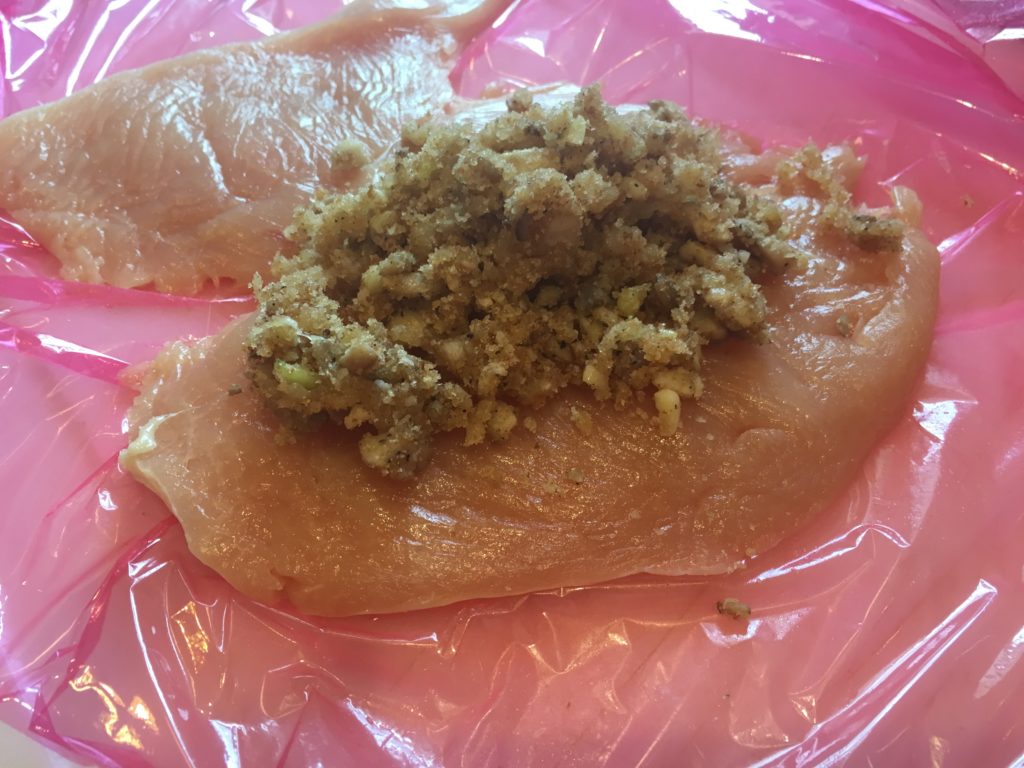
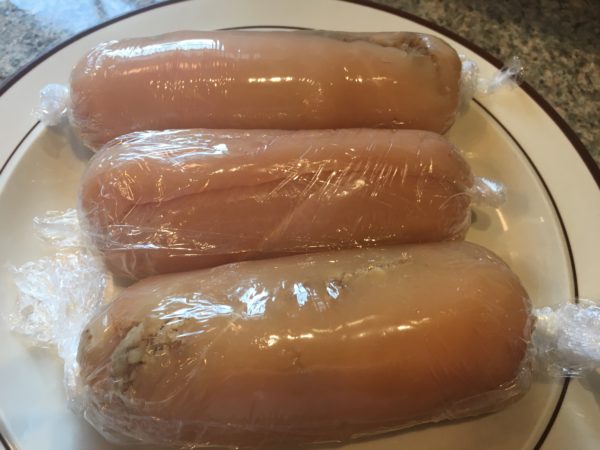
Now I am stuffed! - Take a piece of plastic wrap about 12′ by 12′ and lay it flat on your counter surface. Put your rollup on the edge, centered on the plastic wrap edge and roll it tight as you go in the plastic wrap. When your chicken is all rolled up. Twist the sides of the plastic wrap in opposite directions tightly. This will result in a uniformed size rollup. Tie off the ends. Put them in the refrigerator for 30 minutes or more to continue forming.
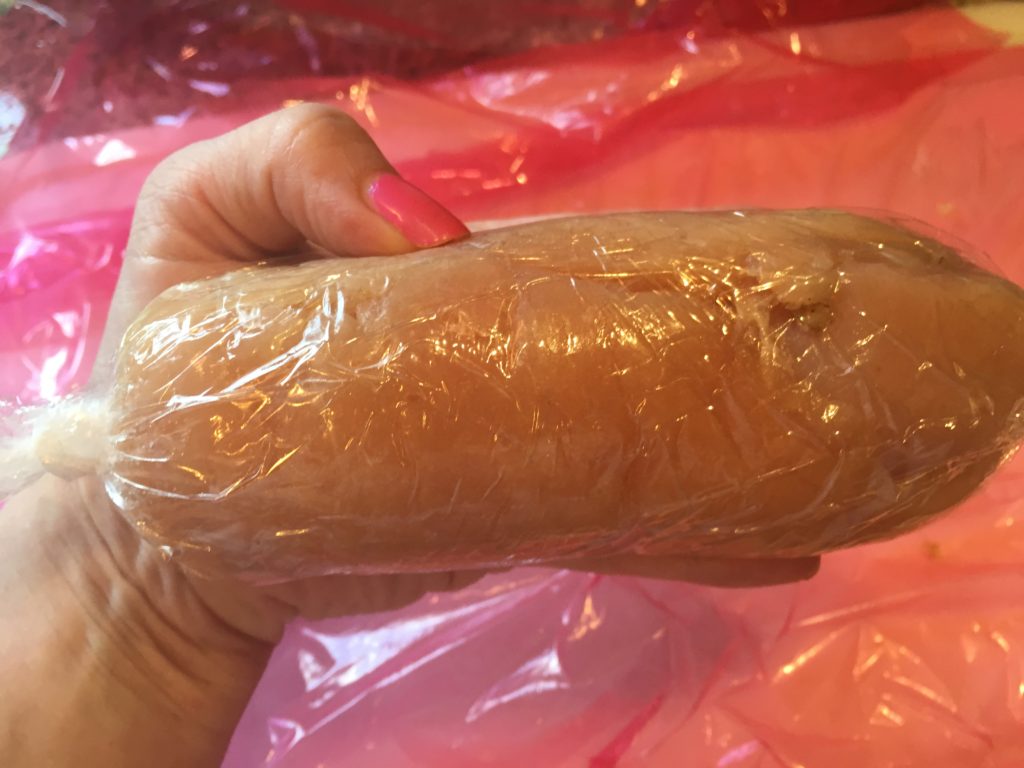
Now I am uniform size! 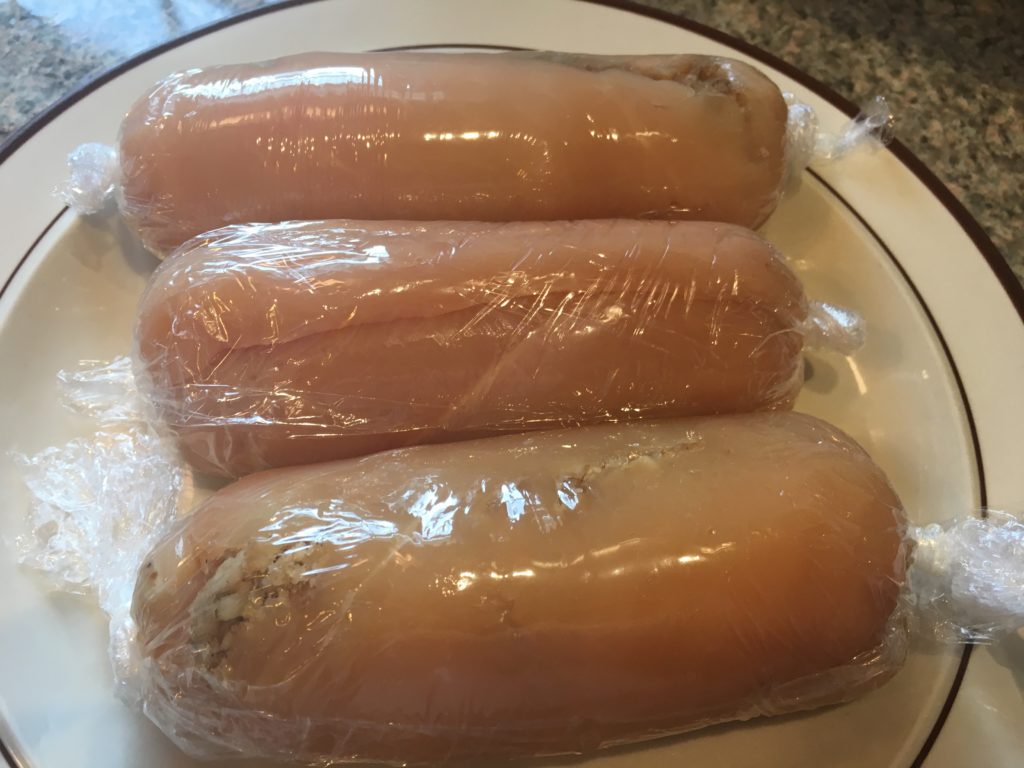
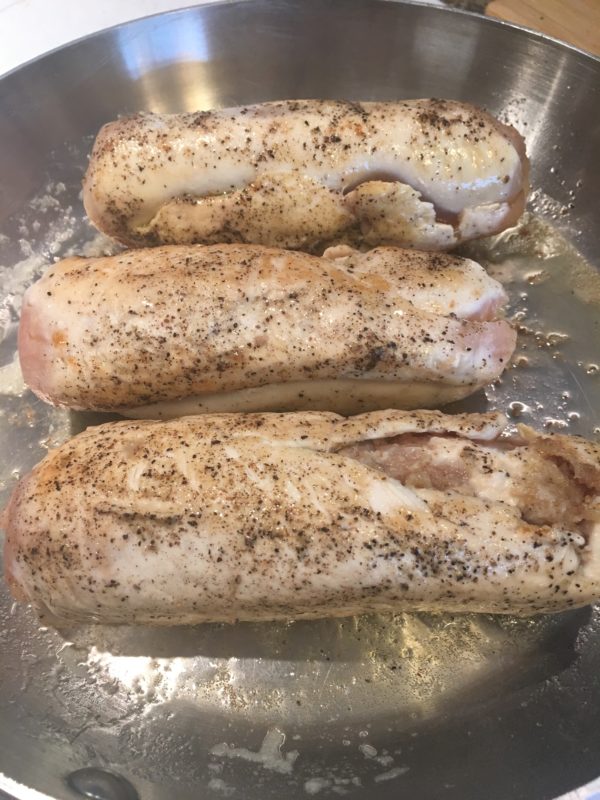
Ready to Rock and Roll! - When ready to cook, remove rollups from the fridge and let set on the counter for about 5 minutes. Unwrap and salt and pepper rollups. In an oven safe fry pan add two tablespoons of extra virgin olive oil and 2 tablespoons of whipped butter, melt over medium heat. When butter is melted brown your chicken rollups on all sides. About 1 minute per side. Baste chicken with butter sauce as you turn. Finish cooking in the oven for about 20 minutes or until cooked all the way through. Remove from the oven, and put them on a plate and set aside to rest.
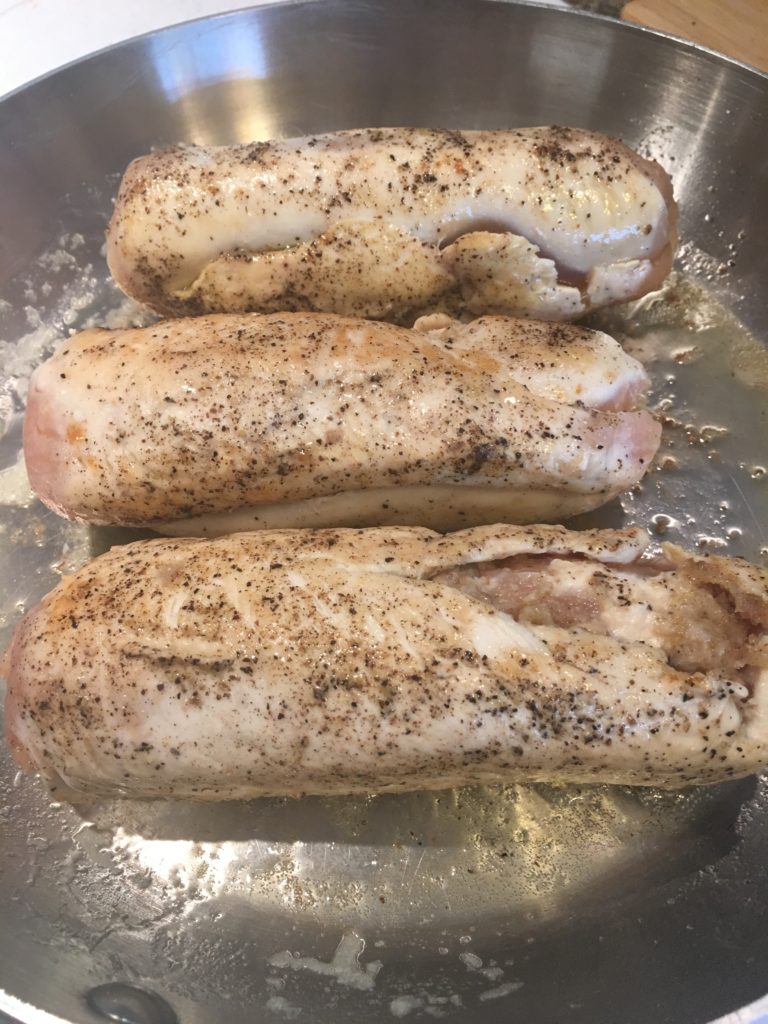
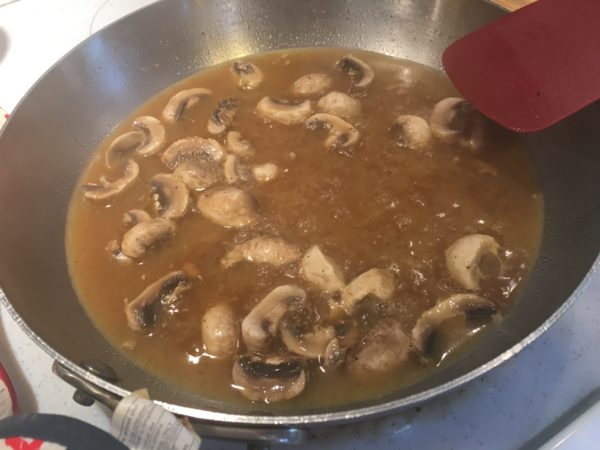
I am searing! - Put your fry pan back on the stove, be careful as the handle will still be really hot! Over medium heat, add two more tablespoons of whipped butter, the sherry, chicken stock and the mushrooms. Salt and pepper to taste. Cook until the mushrooms are to your desired texture and the sauce has reduced about half.
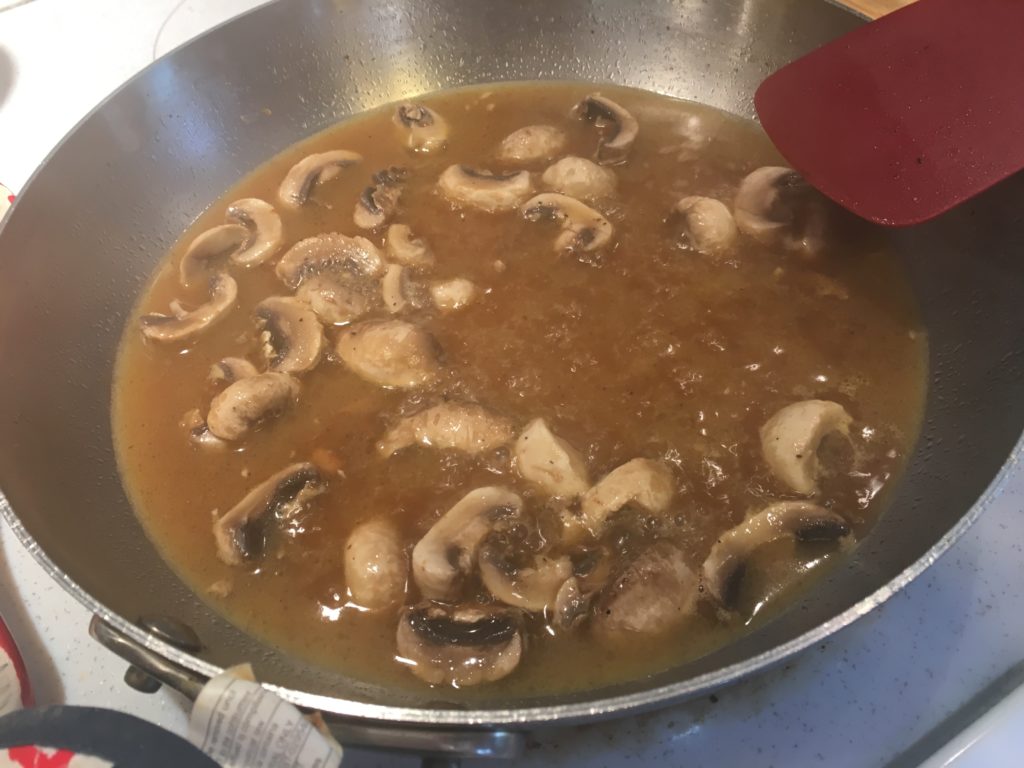
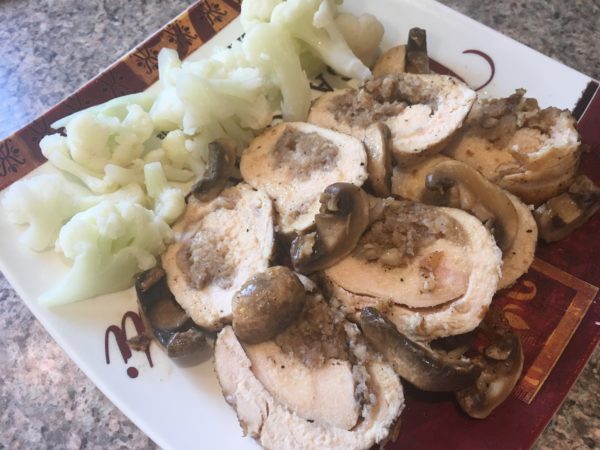
I’m reducing! - Slice your chicken rollups on a biased (diagonal) and feather them out on your plate. Pour a nice amount of reduction on top and serve with your favorite vegetable. Enjoy!!! 🙂
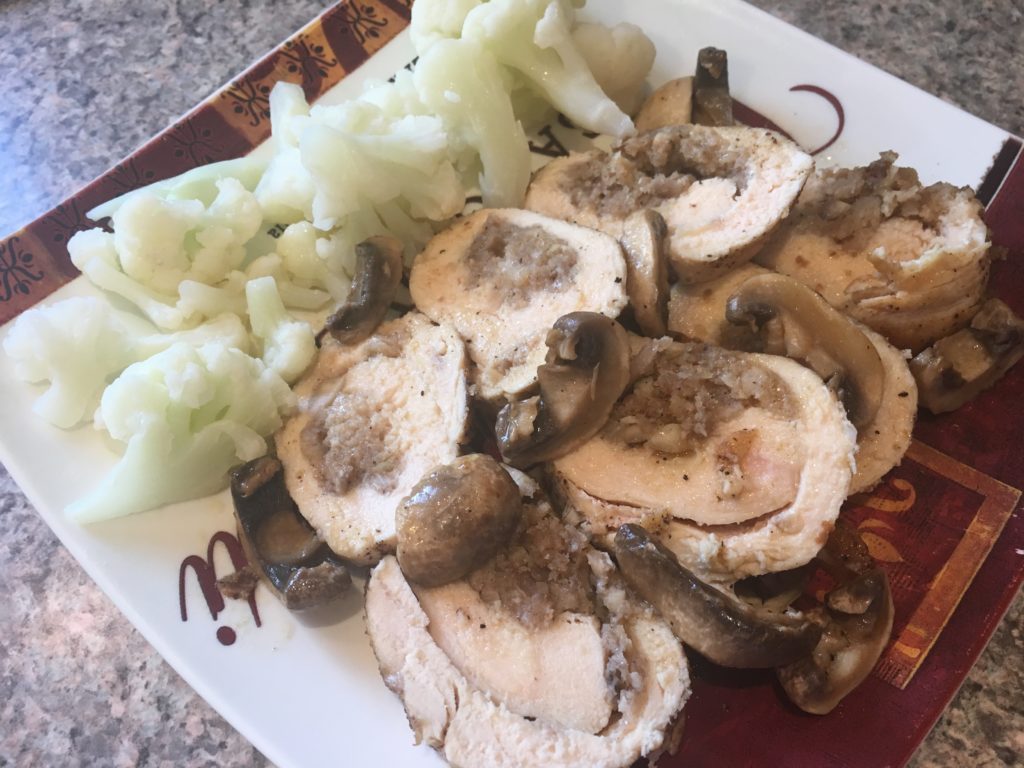
Ready for my close up!
- 10 oz Button Mushrooms Stems -reserve the tops for the reduction sauce
- 3 Garlic Cloves
- 1/4 cup Plain Breadcrumbs
- 1/2 cup Shredded Cheddar Cheese
- 10 oz Sliced Button Mushrooms -from reserved tops of filling
- 1/4 cup Cooking Sherry
- Whipped Butter
- 3/4 cup No Salt Chicken Stock
- In a saucepan over medium heat, add enough extra virgin olive oil to cover the bottom of the pan, about 2 tablespoons. Add the chopped mushroom stems (chop them pretty small) and saute for about 5 minutes until they are tender.
- Add the chopped garlic, then the breadcrumbs. Mix together. Turn off the heat and add the cheese and mix through. The residual heat will melt the cheese. Season with salt and pepper to taste. Remove pan from the heat and set aside.
- Butterfly your chicken breasts (cut them in half, without cutting all the way through). Cover your surface with plastic wrap and place a piece of plastic wrap on top of your butterflied chicken. Take the spiked side of your mallet and pound and simultaneously gently pull the chicken out to the side to flatten and create a bigger surface. Flip them skin side down (yes I know they are skinless, pretend there is skin) and put your stuffing on top a little away from the edge. Now roll the chicken, starting from the edge and tucking the stuffing in as you go. The rollups will be a little uneven but we will take care of that in step 4.
- Take a piece of plastic wrap about 12' by 12' and lay it flat on your counter surface. Put your rollup on the edge, centered on the plastic wrap edge and roll it tight as you go in the plastic wrap. When your chicken is all rolled up. Twist the sides of the plastic wrap in opposite directions tightly. This will result in a uniformed size rollup. Tie off the ends. Put them in the refrigerator for 30 minutes or more to continue forming.
- When ready to cook, remove rollups from the fridge and let set on the counter for about 5 minutes. Unwrap and salt and pepper rollups. In an oven safe fry pan add two tablespoons of extra virgin olive oil and 2 tablespoons of whipped butter, melt over medium heat. When butter is melted brown your chicken rollups on all sides. About 1 minute per side. Baste chicken with butter sauce as you turn. Finish cooking in the oven for about 20 minutes or until cooked all the way through. Remove from the oven, and put them on a plate and set aside to rest.
- Put your fry pan back on the stove, be careful as the handle will still be really hot! Over medium heat, add two more tablespoons of whipped butter, the sherry, chicken stock and the mushrooms. Salt and pepper to taste. Cook until the mushrooms are to your desired texture and the sauce has reduced about half.
- Slice your chicken rollups on a biased (diagonal) and feather them out on your plate. Pour a nice amount of reduction on top and serve with your favorite vegetable. Enjoy!!!
Kimberly
Latest posts by Kimberly (see all)
- No Spend January - January 1, 2025
- Hot Artichoke Dip with Crostini - January 1, 2025
- Reduce Holiday Debt While Simultaneously Saving Money (Even A Little Bit Counts) - January 1, 2025


