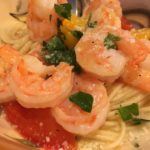
When thinking of meals to make to accommodate the many different palates of my family, I always try to come up with dual purpose meals. The other day in conversation with my son, I said how about Not So “Shrimpy” Shrimp Scampi for a title? He said: that doesn’t make any sense, people are going to think there is little or no shrimp in the recipe. As my Son and I are often on different spectrums with a myriad of subjects, I made my usual “mom/son” debate face and explained my play on words. This comes back to the dual purpose idea; you can serve this dish with the vegetables alone to appease the non-seafood lovers or serve it with the shrimp for those who like it—Dual Purpose! Win-Win in my recipe playbook! 😀
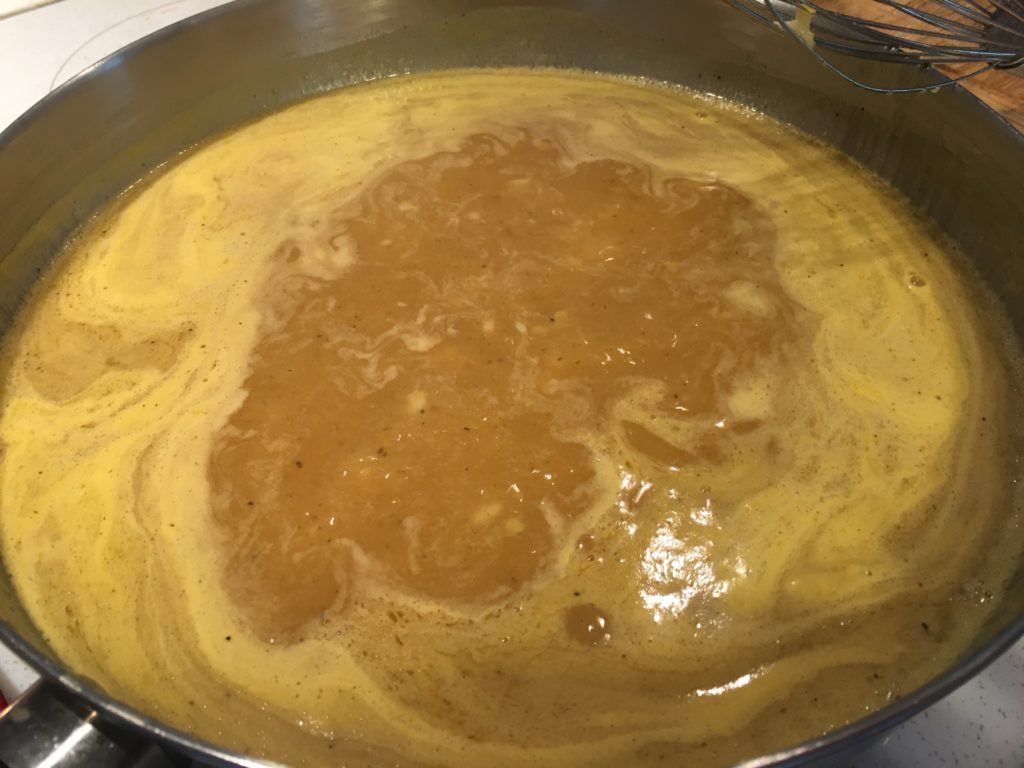
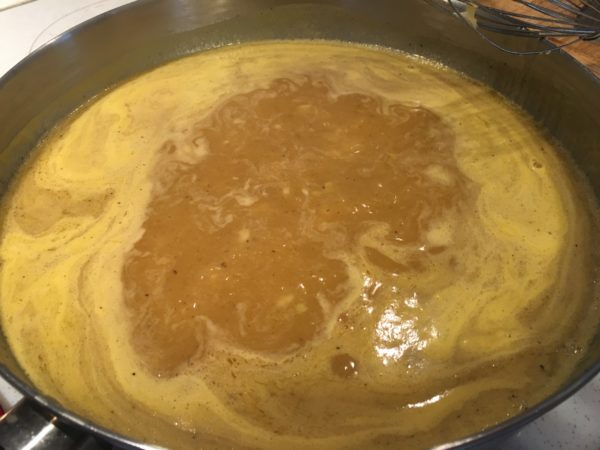
- In a wide saucepan, on medium heat, add 3 tbsp of the olive oil and the whipped butter. When the butter is melted, add 3 of the minced/chopped garlic cloves and saute for about a minute, watching the garlic so it doesn’t burn. Add the flour and mix it in with the butter and olive oil with a whisk. Add the chicken stock and continue whisking until there are no lumps. Turn the heat up to high to boil and thicken the sauce. Add salt and pepper to taste and continue whisking for about 5 minutes or until your sauce is the consistency or thickness you enjoy.
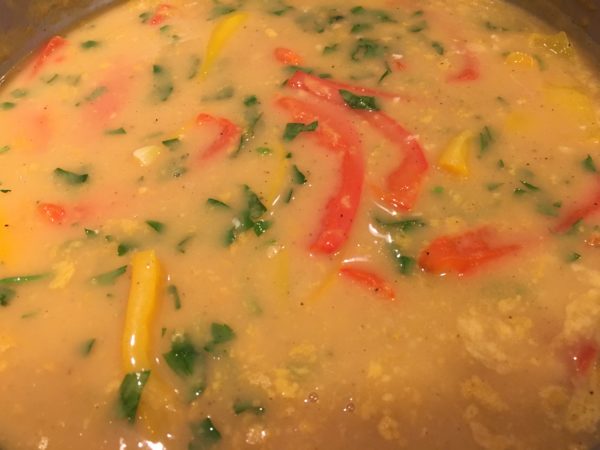
Rolling, Rolling, Rolling Along - Turn the heat back down to medium and add the bell peppers. Cook them for 20 minutes for a firm, yet chewy bite. Add the fresh chopped parsley and parmesan cheese. Add a little more salt and pepper to taste.
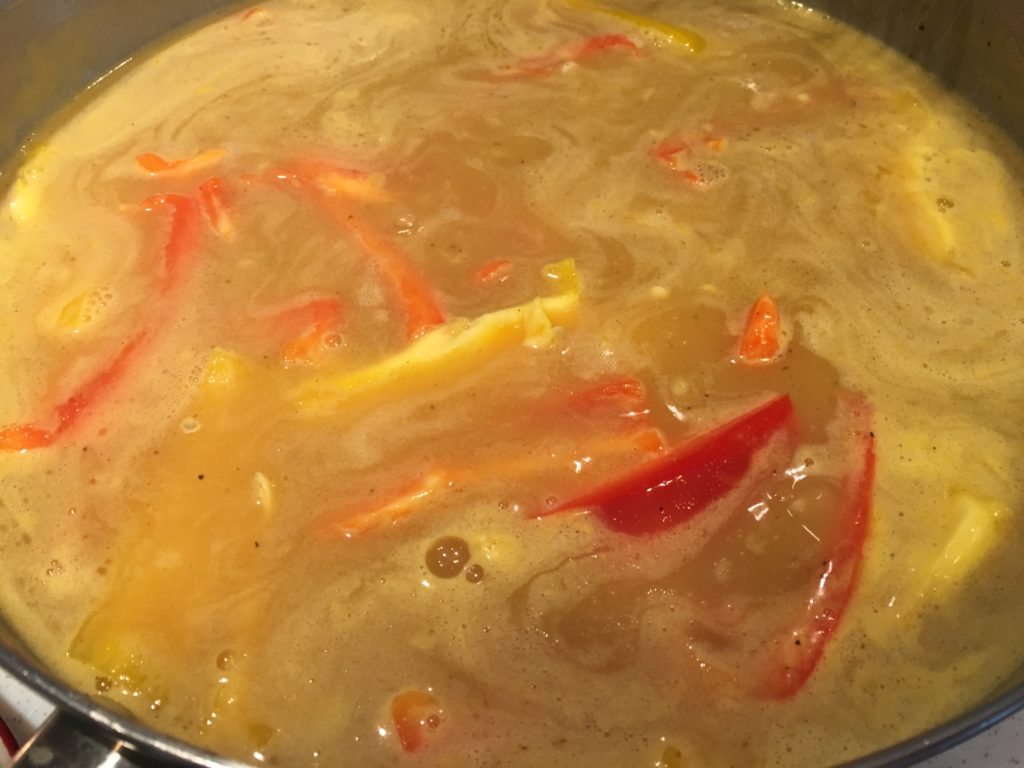
Veggie Bath 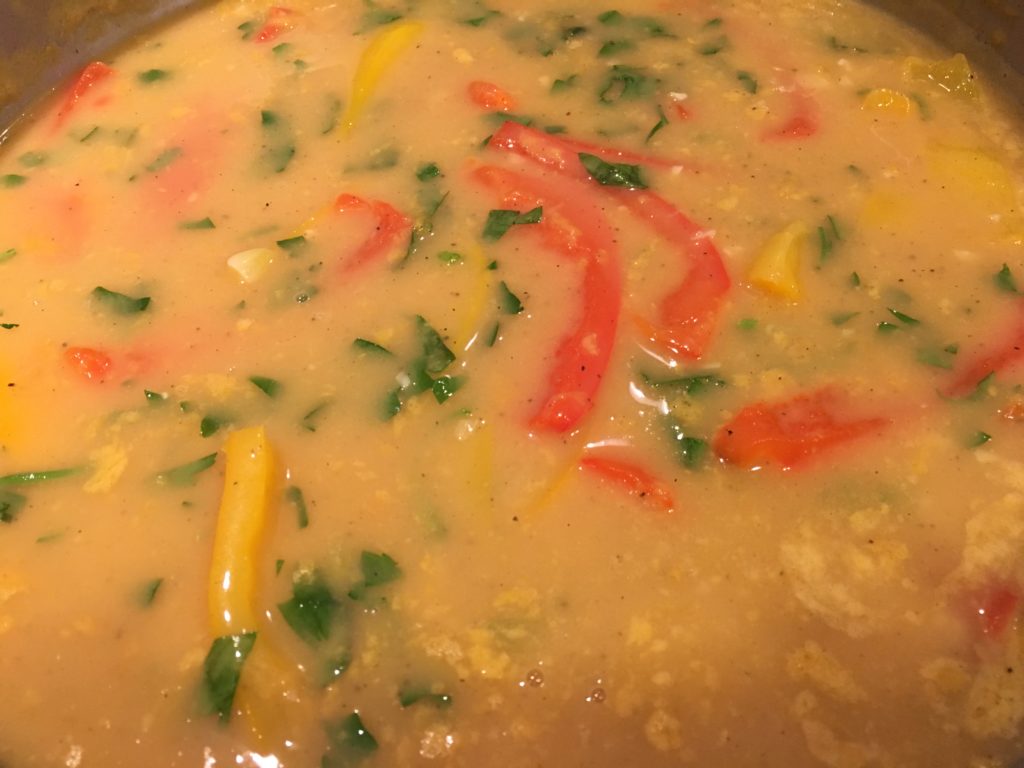
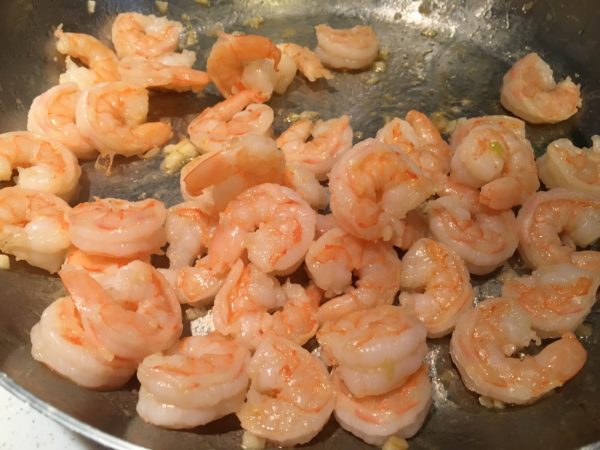
With the Parsley - In a frypan, on medium heat, add the remaining tbsp of olive oil. When heated add the remaining minced/chopped clove of garlic and saute for about a minute. Add the shrimp and cook them about 2-3 minutes per side until they turn from grayish to a nice pink color. Shrimp cook very fast.
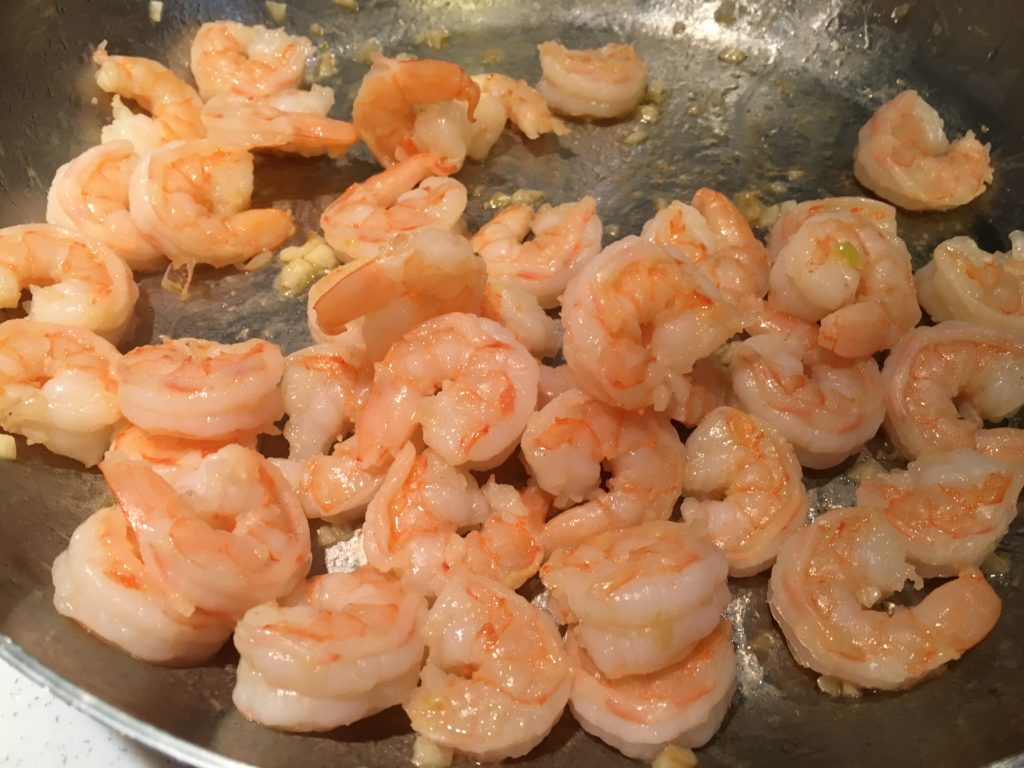
All Pinked Out - While the shrimp is cooking, cook the angel hair pasta according to package directions. After it is cooked, turn off the heat and leave it in the water to stay warm.
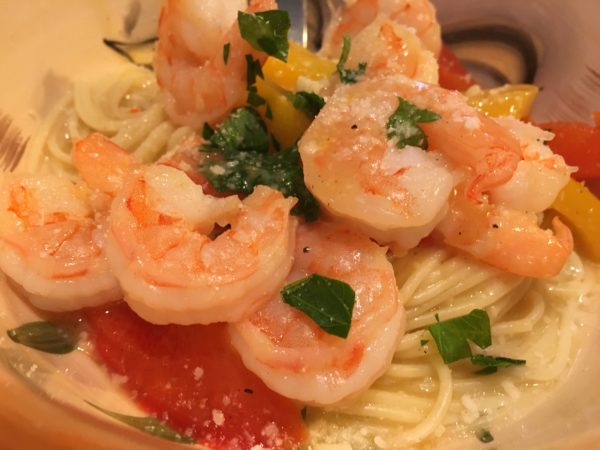
- When ready to plate, use a pair of tongs to take out a generous portion of pasta and twist it for presentation in a nice themed bowl. Add your scampi sauce and shrimp on top. Garnish with a little more parmesan if you please and a little fresh parsley. Salt and pepper to taste. Enjoy!!!
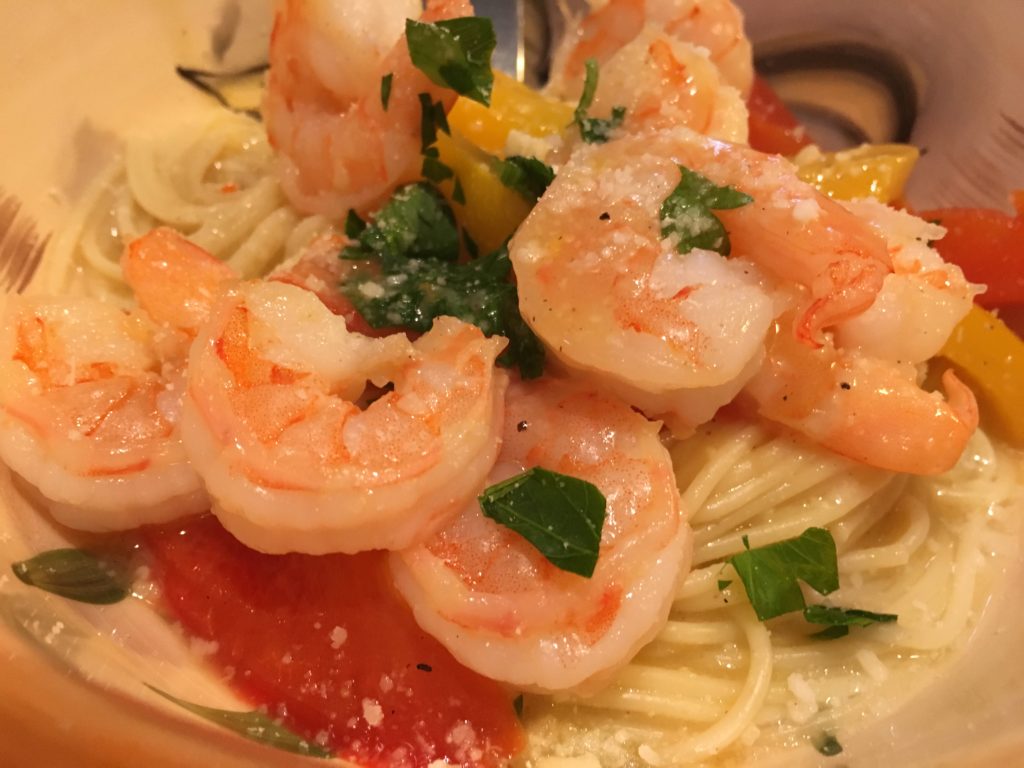
In All Its Shrimp Glory 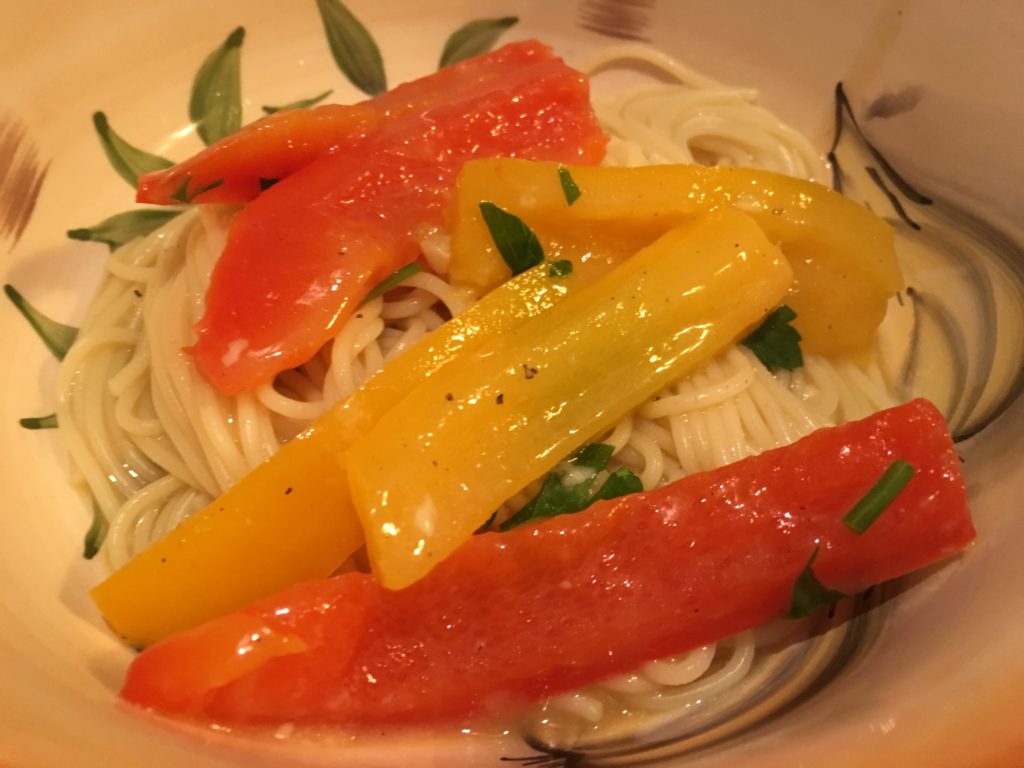
Sans the Shrimp for the Veggie Lovers
- 1 lb Raw Shrimp Peeled & Deveined
- 1 lb box Angel Hair Pasta
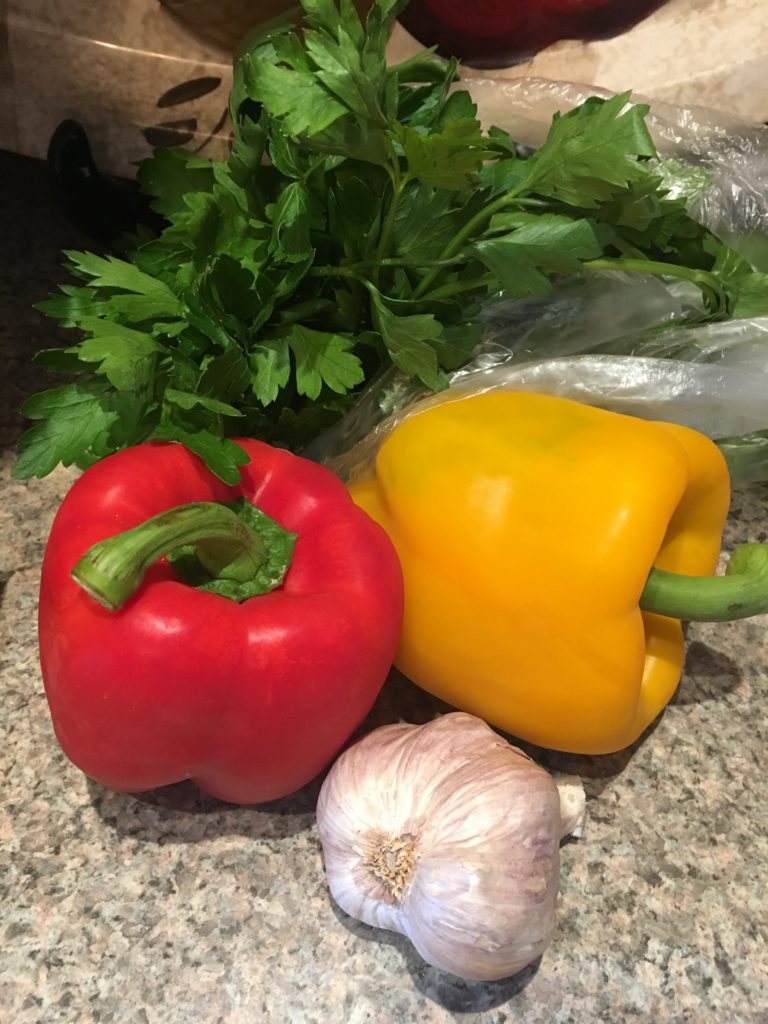
- 4 big cloves garlic
- 1 large Yellow Bell Pepper
- 1 large Red Bell Pepper
- 3 tbsp All Purpose Flour
- 3 tbsp Whipped Butter
- 32 oz No Salt Chicken Stock
- 4 tbsp Extra Virgin Olive Oil
- 1/2 cup Parmesan cheese
- 4 tbsp Italian Parsley
- Black Pepper
- Kosher Salt
- In a wide saucepan, on medium heat, add 3 tbsp of the olive oil and the whipped butter. When the butter is melted, add 3 of the minced/chopped garlic cloves and saute for about a minute, watching the garlic so it doesn't burn. Add the flour and mix it in with the butter and olive oil with a whisk. Add the chicken stock and continue whisking until there are no lumps. Turn the heat up to high to boil and thicken the sauce. Add salt and pepper to taste and continue whisking for about 5 minutes or until your sauce is the consistency or thickness you enjoy.
- Turn the heat back down to medium and add the bell peppers. Cook them for 20 minutes for a firm, yet chewy bite. Add the fresh chopped parsley and parmesan cheese. Add a little more salt and pepper to taste.
- In a frypan, on medium heat, add the remaining tbsp of olive oil. When heated add the remaining minced/chopped clove of garlic and saute for about a minute. Add the shrimp and cook them about 2-3 minutes per side until they turn from grayish to a nice pink color. Shrimp cook very fast.
- While the shrimp is cooking, cook the angel hair pasta according to package directions. After it is cooked, turn off the heat and leave it in the water to stay warm.
- When ready to plate, use a pair of tongs to take out a generous portion of pasta and twist it for presentation in a nice themed bowl. Add your scampi sauce and shrimp on top. Garnish with a little more parmesan if you please and a little fresh parsley. Salt and pepper to taste.
Kimberly
Latest posts by Kimberly (see all)
- No Spend January - January 1, 2025
- Hot Artichoke Dip with Crostini - January 1, 2025
- Reduce Holiday Debt While Simultaneously Saving Money (Even A Little Bit Counts) - January 1, 2025


